This video show you
- how to quickly find the checklist you want if you know the date.
- two ways to add a species: first for one already in the list, and second to add a species not on the list.
- how to delete a species from the list
You may pause the video at anytime.
Pop up sub menus happen - ONLY to show you which button is being pressed. Take note of the button but ignore the pop ups.
Although this was recorded on an iPad, the steps are valid from any device and any web browser (Safari, Chrome, Microsoft Edge, Internet Explorer, Internet app on Android, Firefox, etc) since the eBird webpage is the same as viewed by any browser, at present. The eBird webpages do not (yet) have “mobile” versions / formats, of their webpages. It would look the same from a desktop.
I want to find a checklist from the year 2002, so I
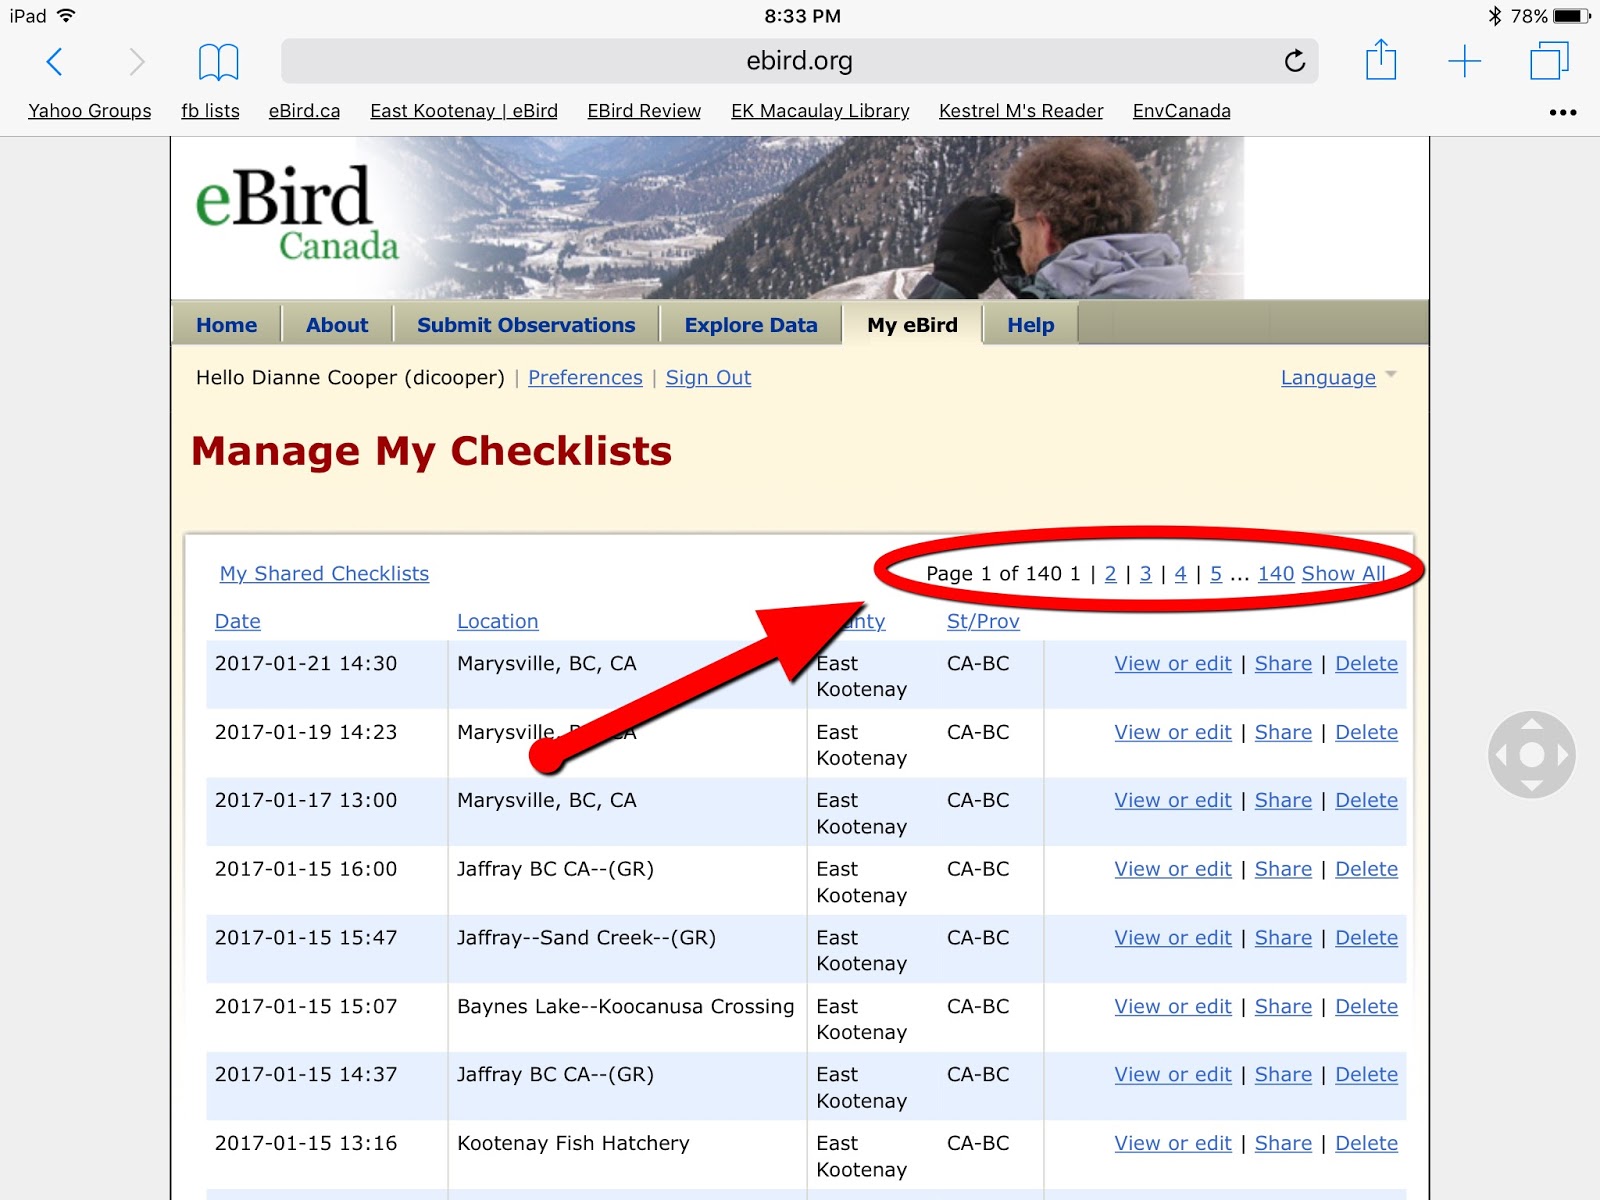
- show all my checklists
- use the browser’s search function - aka address bar of Safari web browser, up at the top
- to type in the date, then
- “Find on page” - in the drop down - scroll down til you see that, touch/click on the date
- it will take you to the place on the webpage showing that date
To do a “find” on a desktop use ctrl-f (click on the “ctrl” key and hold, while simulateously clicking the “f” key).
- look over to the right of the checklist for “view or edit” and click on that
- your checklist will now show
- look for “edit checklist” and click on that.
- if you do your data submissions through the webpage, that is, online, you will be familiar with this layout, buttons and boxes.
In the screen recording, I was going to add “Blue Jay” - put a number in the box to the left of Blue Jay, but changed my mind.
I thought I’d show you how to add a species that is not on the list:
- click in the blue box, near top left, with the words “Jump to species” - also on blue
- start typing a weird Bird name for around here, like “Western gull”
- eventually a pop up will appear saying “No matches on this checklist” and a big green button labelled “Add species” - click on that.
- a blue box will appear on the left
- start typing in the species you want to add and keep an eye on the drop down list that appears below
- choose the species in that drop down - click it
- fill in the details, including good field marks which distinguish it from similar species.
- you have to click the checkbox beside “Complete” before it will save.
At the end of the video is how to remove a species - which is just by clicking on “remove species” to the right of the species name. (Do not do it by changing the number seen to “zero” - zero means you were expecting to see it but didn’t)
Although this was recorded on an iPad, the steps are valid from any device and any web browser (Safari, Chrome, Microsoft Edge, Internet Explorer, Internet app on Android, Firefox, etc) since the eBird webpage is the same as viewed by any browser, at present. The eBird webpages do not (yet) have “mobile” versions / formats, of their webpages. It would look the same from a desktop.
I want to find a checklist from the year 2002, so I
- show all my checklists
- use the browser’s search function - aka address bar of Safari web browser, up at the top
- to type in the date, then
- “Find on page” - in the drop down - scroll down til you see that, touch/click on the date
- it will take you to the place on the webpage showing that date
To do a “find” on a desktop use ctrl-f (click on the “ctrl” key and hold, while simulateously clicking the “f” key).
- look over to the right of the checklist for “view or edit” and click on that
- your checklist will now show
- look for “edit checklist” and click on that.
- if you do your data submissions through the webpage, that is, online, you will be familiar with this layout, buttons and boxes.
In the screen recording, I was going to add “Blue Jay” - put a number in the box to the left of Blue Jay, but changed my mind.
I thought I’d show you how to add a species that is not on the list:
- click in the blue box, near top left, with the words “Jump to species” - also on blue
- start typing a weird Bird name for around here, like “Western gull”
- eventually a pop up will appear saying “No matches on this checklist” and a big green button labelled “Add species” - click on that.
- a blue box will appear on the left
- start typing in the species you want to add and keep an eye on the drop down list that appears below
- choose the species in that drop down - click it
- fill in the details, including good field marks which distinguish it from similar species.
- you have to click the checkbox beside “Complete” before it will save.
At the end of the video is how to remove a species - which is just by clicking on “remove species” to the right of the species name. (Do not do it by changing the number seen to “zero” - zero means you were expecting to see it but didn’t)